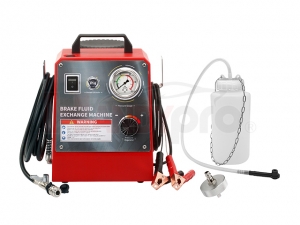

Brake Fluid Service Tools

BK0306
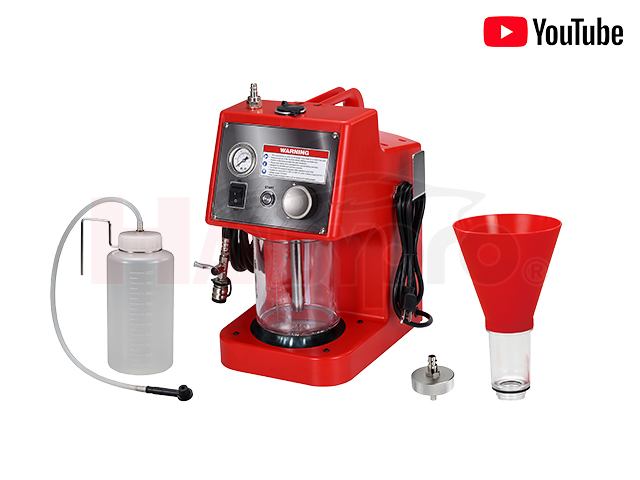
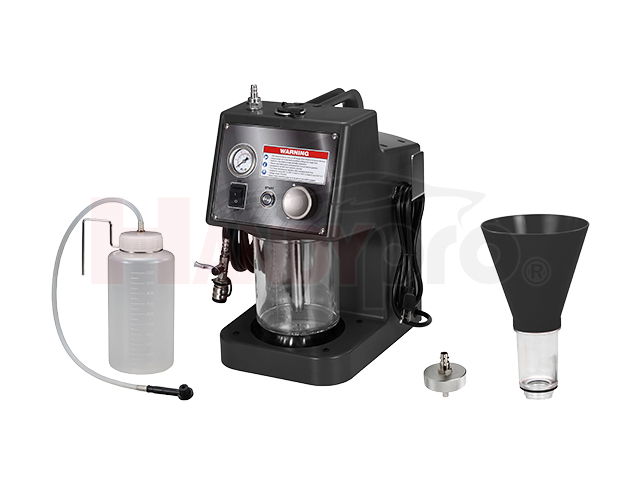
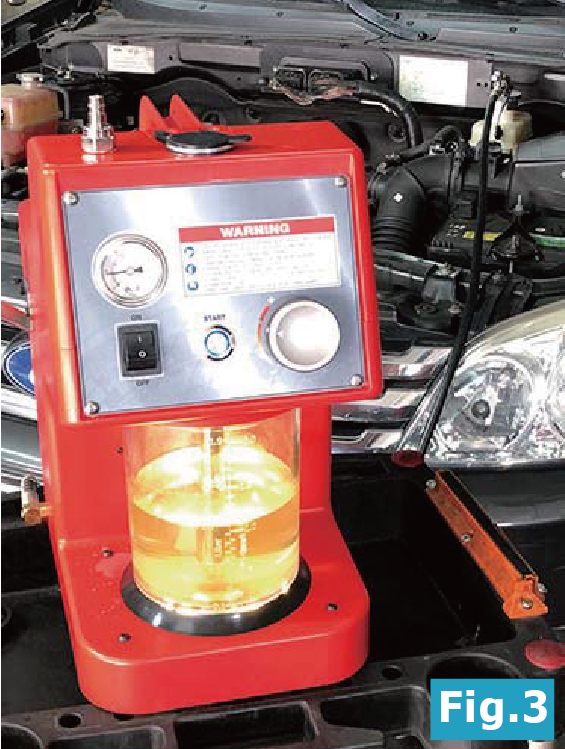
Brake Fluid Exchange Machine
Specifications
Machine helps brake fluid exchange efficient and easy.
Transparent front 2-liter tank makes brake fluid visible, LED lights included.
Powered electrically - no air compressor required.
Light weight, easy to carry around.
Transparent front 2-liter tank makes brake fluid visible, LED lights included.
Powered electrically - no air compressor required.
Light weight, easy to carry around.
| Product description | |||
| Item NO. | BK0306 | ||
| Color | Red / Black | ||
| Plug type | 220V 2 round hole / 220V 3 straight PIN / 110V 3 hole | ||
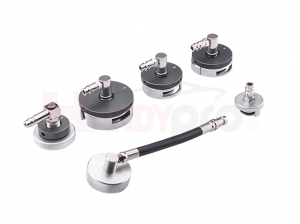
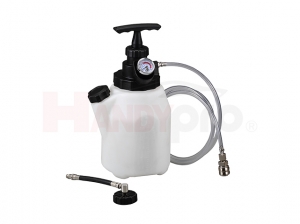
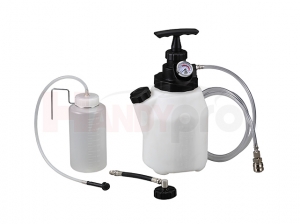
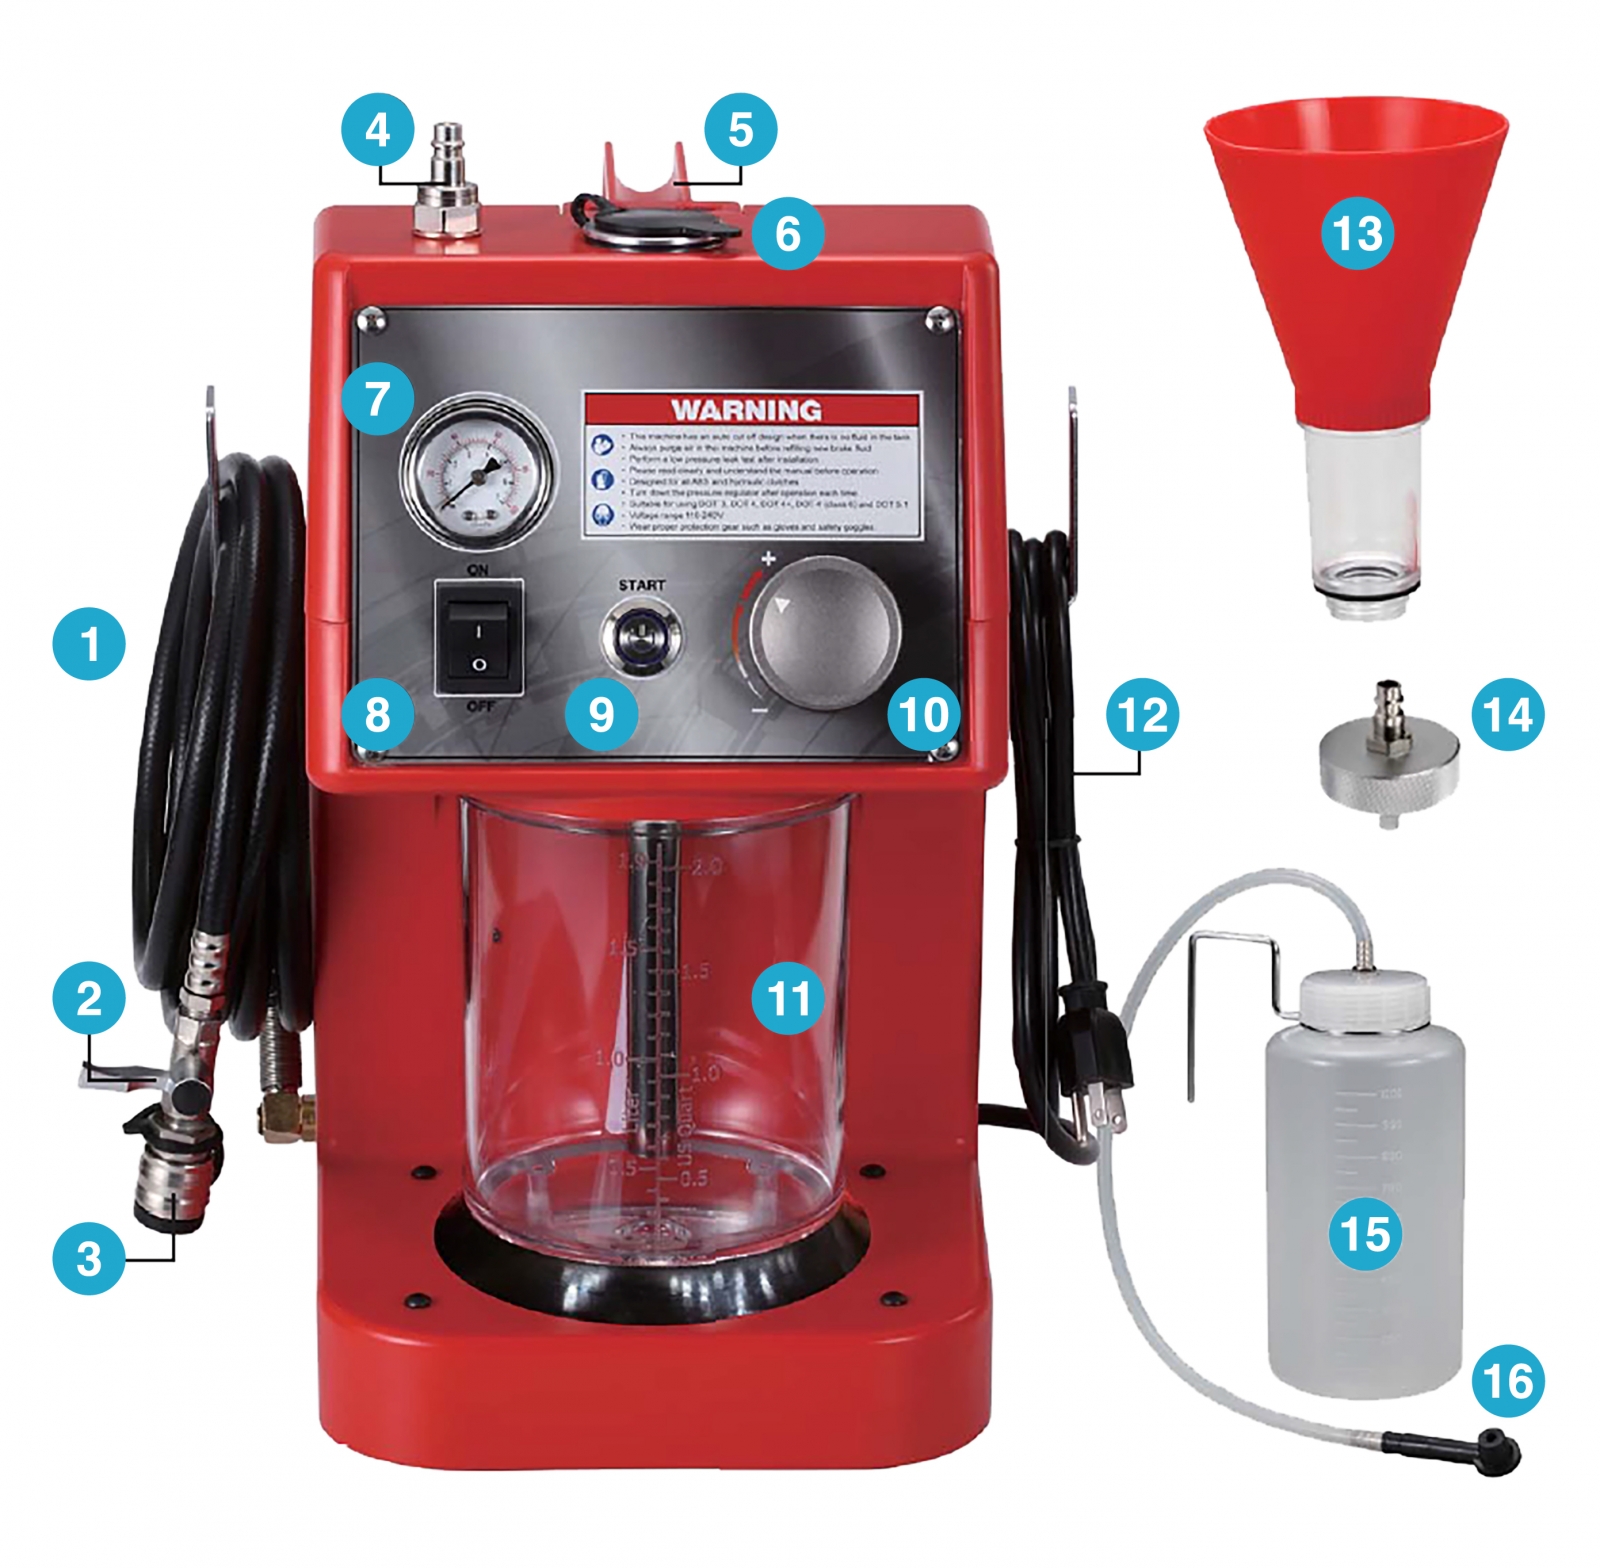
| Contents | |||
| 1. | Brake fluid fill line 3.5 meter / 11.5 ft | 9. | Activation button |
| 2. | Fluid control valve | 10. | Pressure regulator |
| 3. | Connector to master cylinder adapter | 11. | Transparent tank 2 liter |
| 4. | Purge nipple | 12. | Power line 1.8 meter / 5.9 ft |
| 5. | Handle | 13. | Funnel male threads M33 × 3.5 |
| 6. | Fill port female threads M33 × 3.5 | 14. | Euro type standard adapter M46.5 × 3.5 |
| 7. | Gauge 0-7 bar / 0-100 psi | 15. | Waste fluid catch bottle 1 liter |
| 8. | Power button | 16. | Brake bleeder valve adapter |
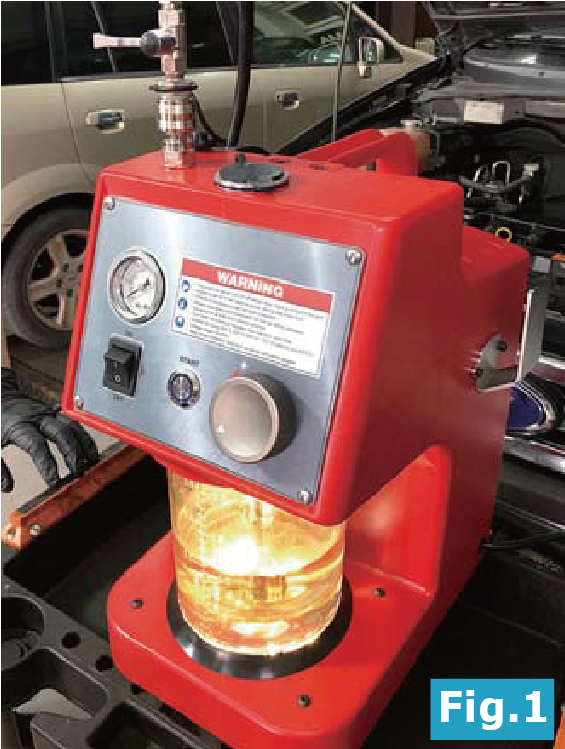 |
PREPARATION
|
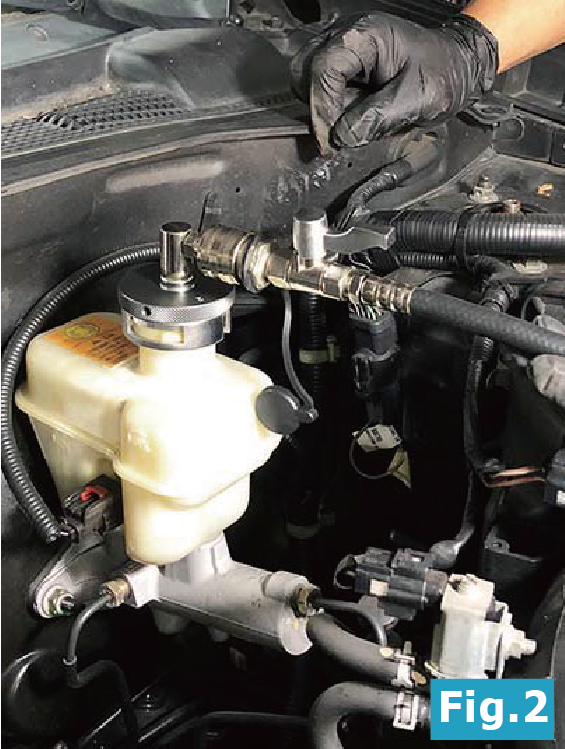 |
LOW-PRESSURE LEAK TEST
|
 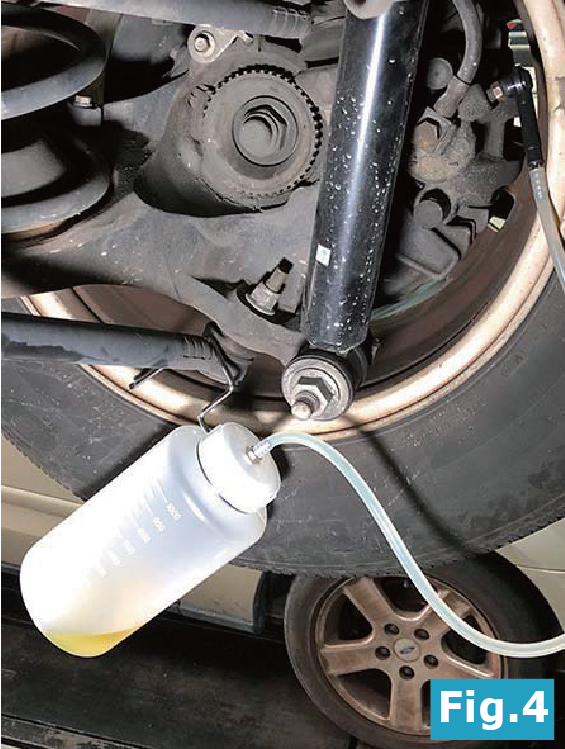 |
PRESSURE BLEEDING
|
| Packing list | |
| Item NO. | BK0306 |
| Packaging | Corrugated box |
| Packing | 1 SET / CTN / 10 / 11 KGS / 2.73 |